New Vegas is my favourite RPG ever. However, despite the fact that the game has seemingly infinite build options, I always find myself gravitating towards the same playstyle: I spec into guns, speech, and barter, get the ranger armour, get a silenced rifle, and start the game proper at level 5 with Boone by my side.
You’d think this would become repetitive, but it’s fun EVERY TIME. If you’re someone who scours the wiki upon starting a new game in order to find the quickest way to get some of the best gear with as little effort as possible, then here you go.
Step 1: Decisions
The build.
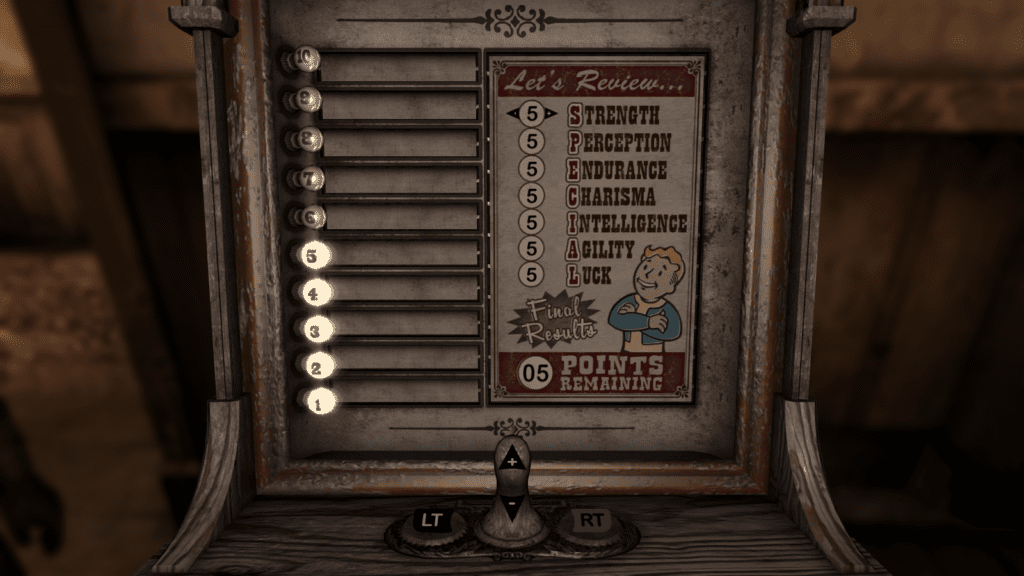
Honestly, this really doesn’t matter too much. Your special stats don’t matter too much for this, just try not to give yourself 1 in anything. Except for Charisma. I typically play a smooth-talking charisma character in these kinds of games, and I can tell you that Charisma does almost nothing. Spend those 4 points somewhere anywhere else.
If you’re looking to power level as quickly as possible, then put Intelligence up to 9 (or 10 if you don’t want to have to run to New Vegas for the +1 implant). This determines how many skill points you get per level. So, it’s THE stat for power-levelling.
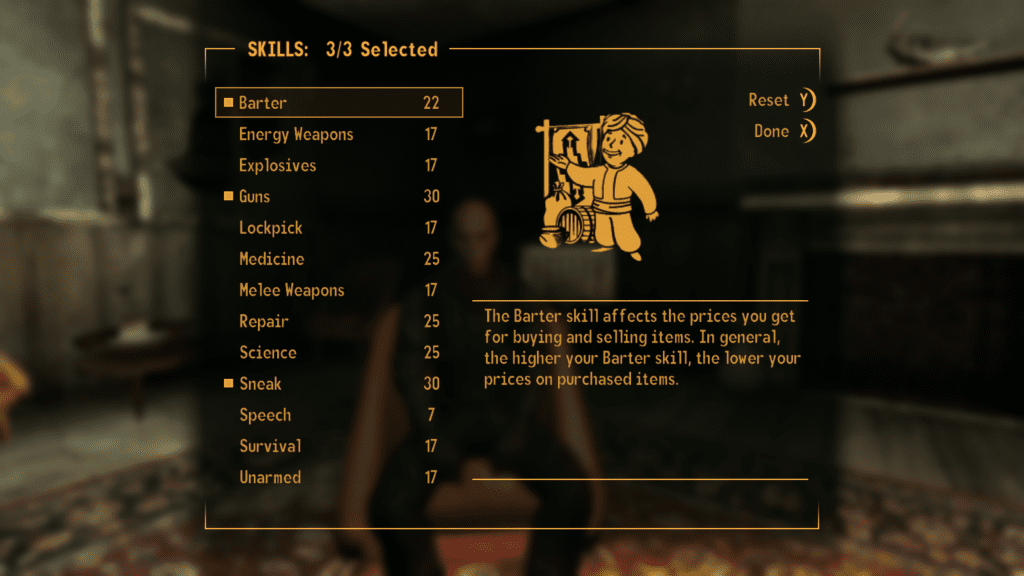
For skills, the only one that matters right now is barter. Get +15 in whatever else you like. All depends on what you want to do with it, but for the sake of my ‘stealth archer’ Skyrim build, we’ll be going with guns and sneak.
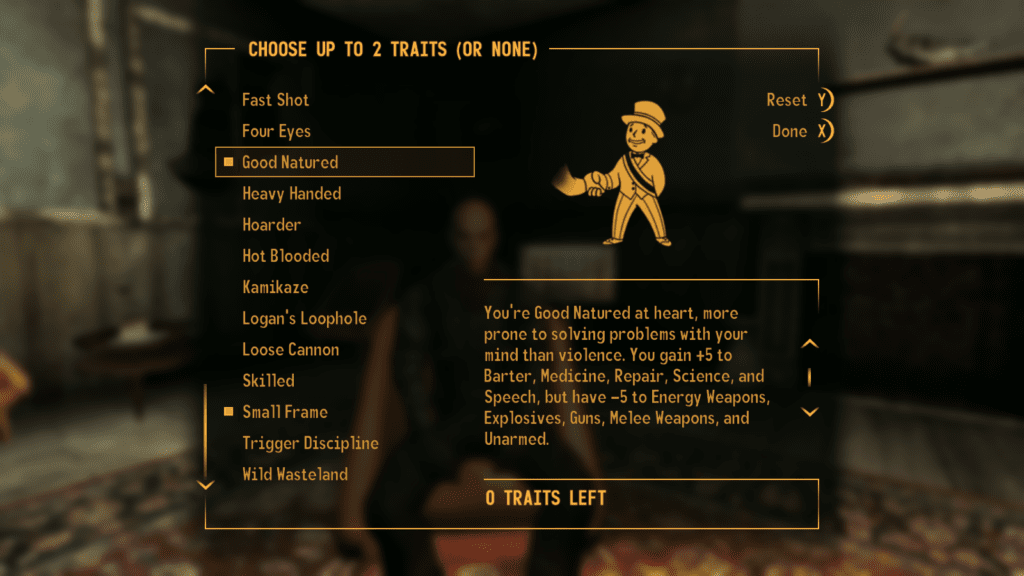
For traits, I always go for Small Frame and Wild Wasteland. Small Frame because it’s +1 Agility for a pretty negligible trade-off, and Wild Wasteland because it’s funny.
Good Natured is also a good option so long as you don’t mind taking an initial hit on your combat skills. Skilled is another good option as it gives you +5 to EVERY skill, but it reduces xp gain by 10%, so it runs a little counter-intuitive to our power-levelling strat.
Step 2: To the DLC!
I
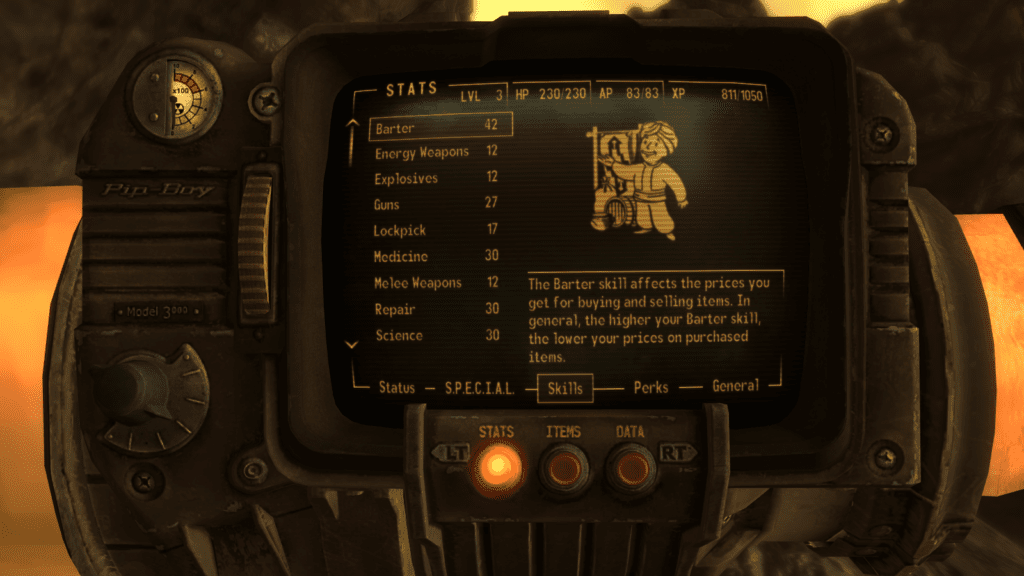
deally, we want to have our barter skill at around 40/50 before we continue as it’ll make the next part faster. So, if you’re not too busy, there are a bunch of small tasks and skill checks you can do in Goodsprings before you seek your fortune.
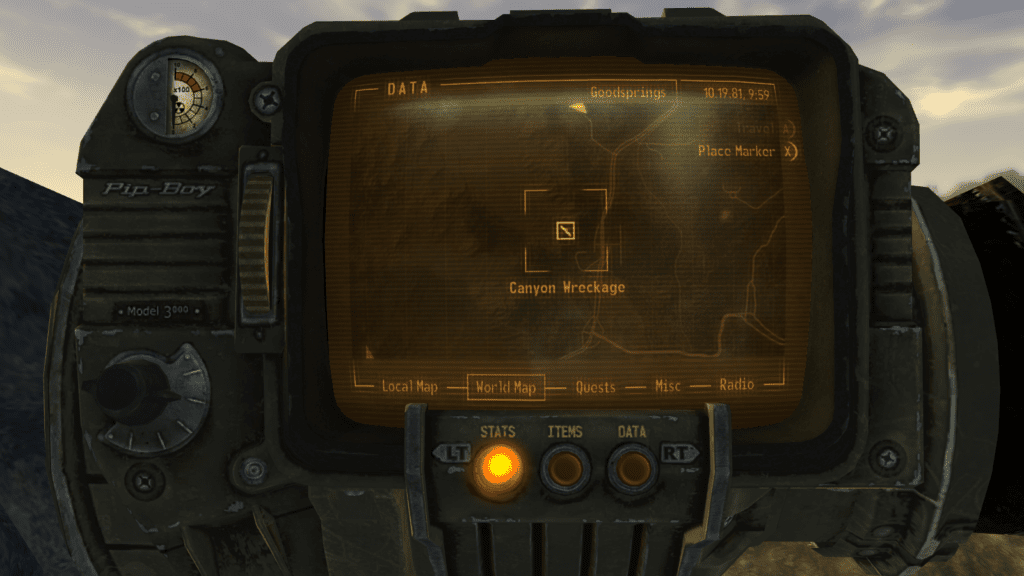
Now that we have our barter set, we want to head to the Lonesome Road dlc. This is the marked location that is just south of GoodSprings.
On your way, you may get to level 3 just by clearing out enemies; if that happens, just whack everything into barter. We shouldn’t be more than level 3 by the time we get done in the dlc and the level cap is 50, so you aren’t going to ruin your level progression by getting barter early.

When you get into the dlc and have made ED-E your companion (this happens almost immediately, don’t worry), he’ll begin activating any nearby terminals. He activates one in the room in which you recruit him, and this is the one we care about.
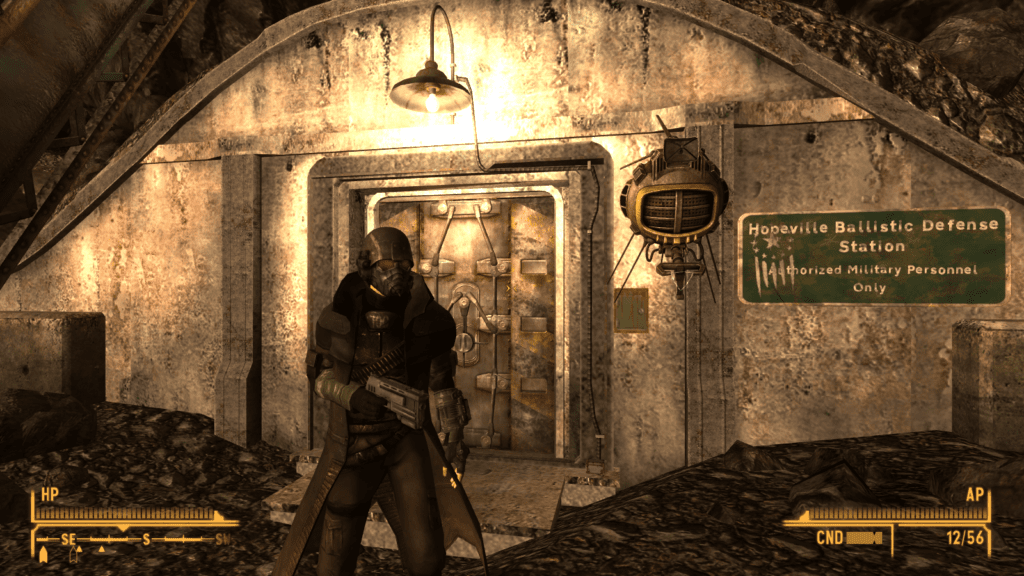
This Riot Gear armour (even though it’s the weakest version of Ranger armour) is probably the 4th best armour set in the whole game. It may be slightly damaged and cost more money to repair than we can even conceive of, but that doesn’t matter. All we want to do right now is pick up everything in this dlc that isn’t nailed down, sell it, and buy ourselves the 4th best (and 2nd coolest) armour set in the game.
Step 3: The Guns
A cowboy is nothing without their gun, and we need a good one. This is where this guide becomes a lot more malleable, because it’s all down to personal preference at this point.
For this guide though, we’ll be getting the Ratslayer: the sneak critical machine.
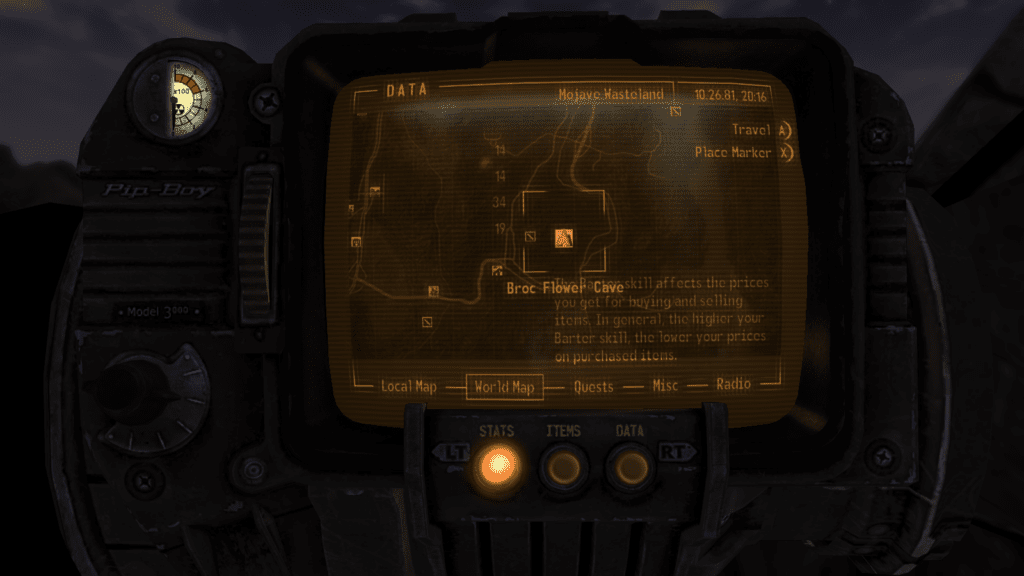
We need to get to Broc flower cave which is basically on our way to New Vegas anyway. Training wheels are off now, so if you level up on the way, feel free to allocate the points in any way you see fit.
That being said, I obviously recommend sneak and guns.
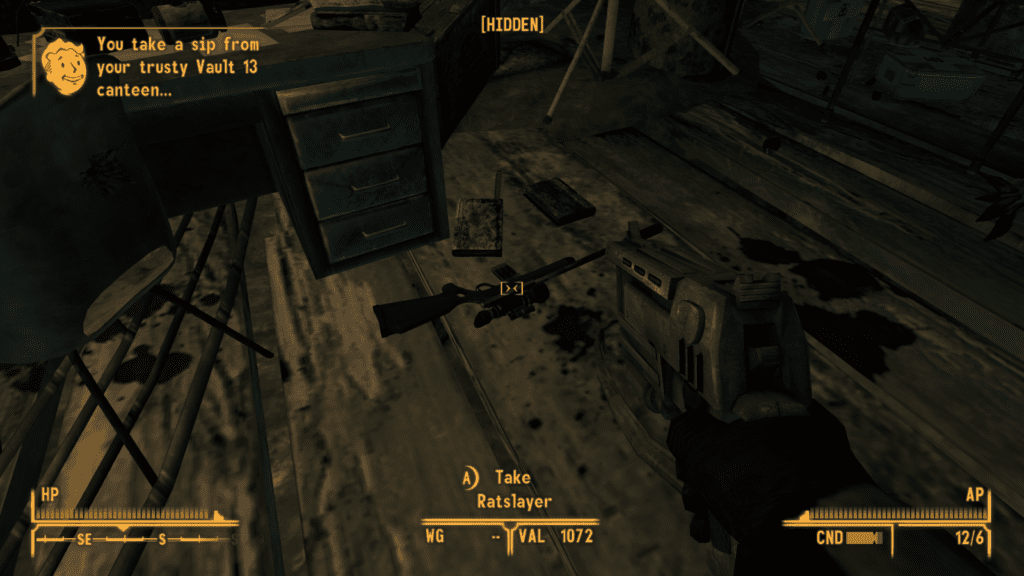
Once you get in, just hug the right wall all the way through the cave until you get to a little alcove. In this alcove, leaning up against the table is our precious, silent beauty.
The critical hit chance on this alone is amazing. You should be able to one tap any early game enemy with it.
Step 4: Onward
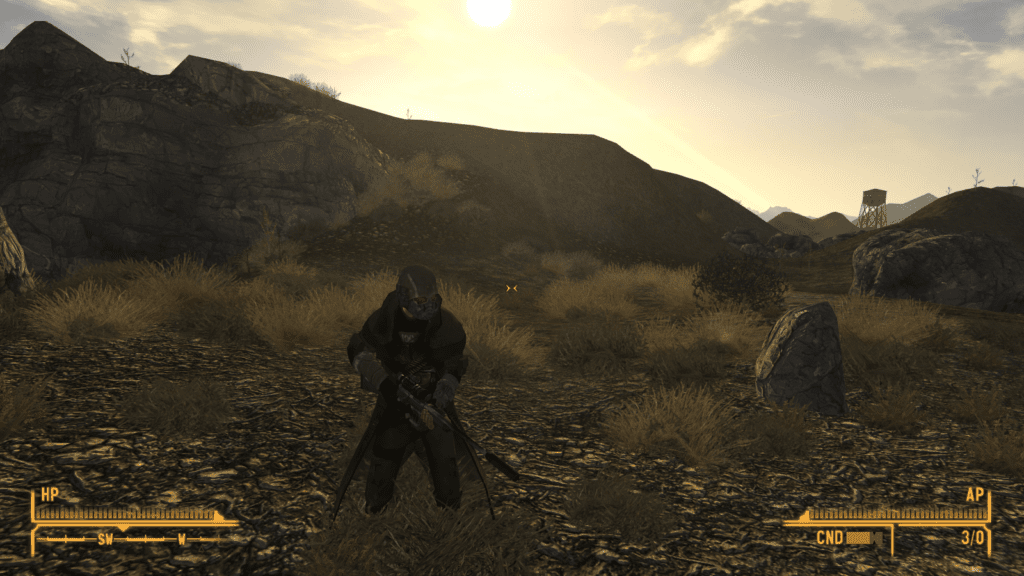
You have amazing damage resistance, a wonderful weapon, and you’re probably only level 4.
One hour in, and now you can finally play the game.